Creating a Task
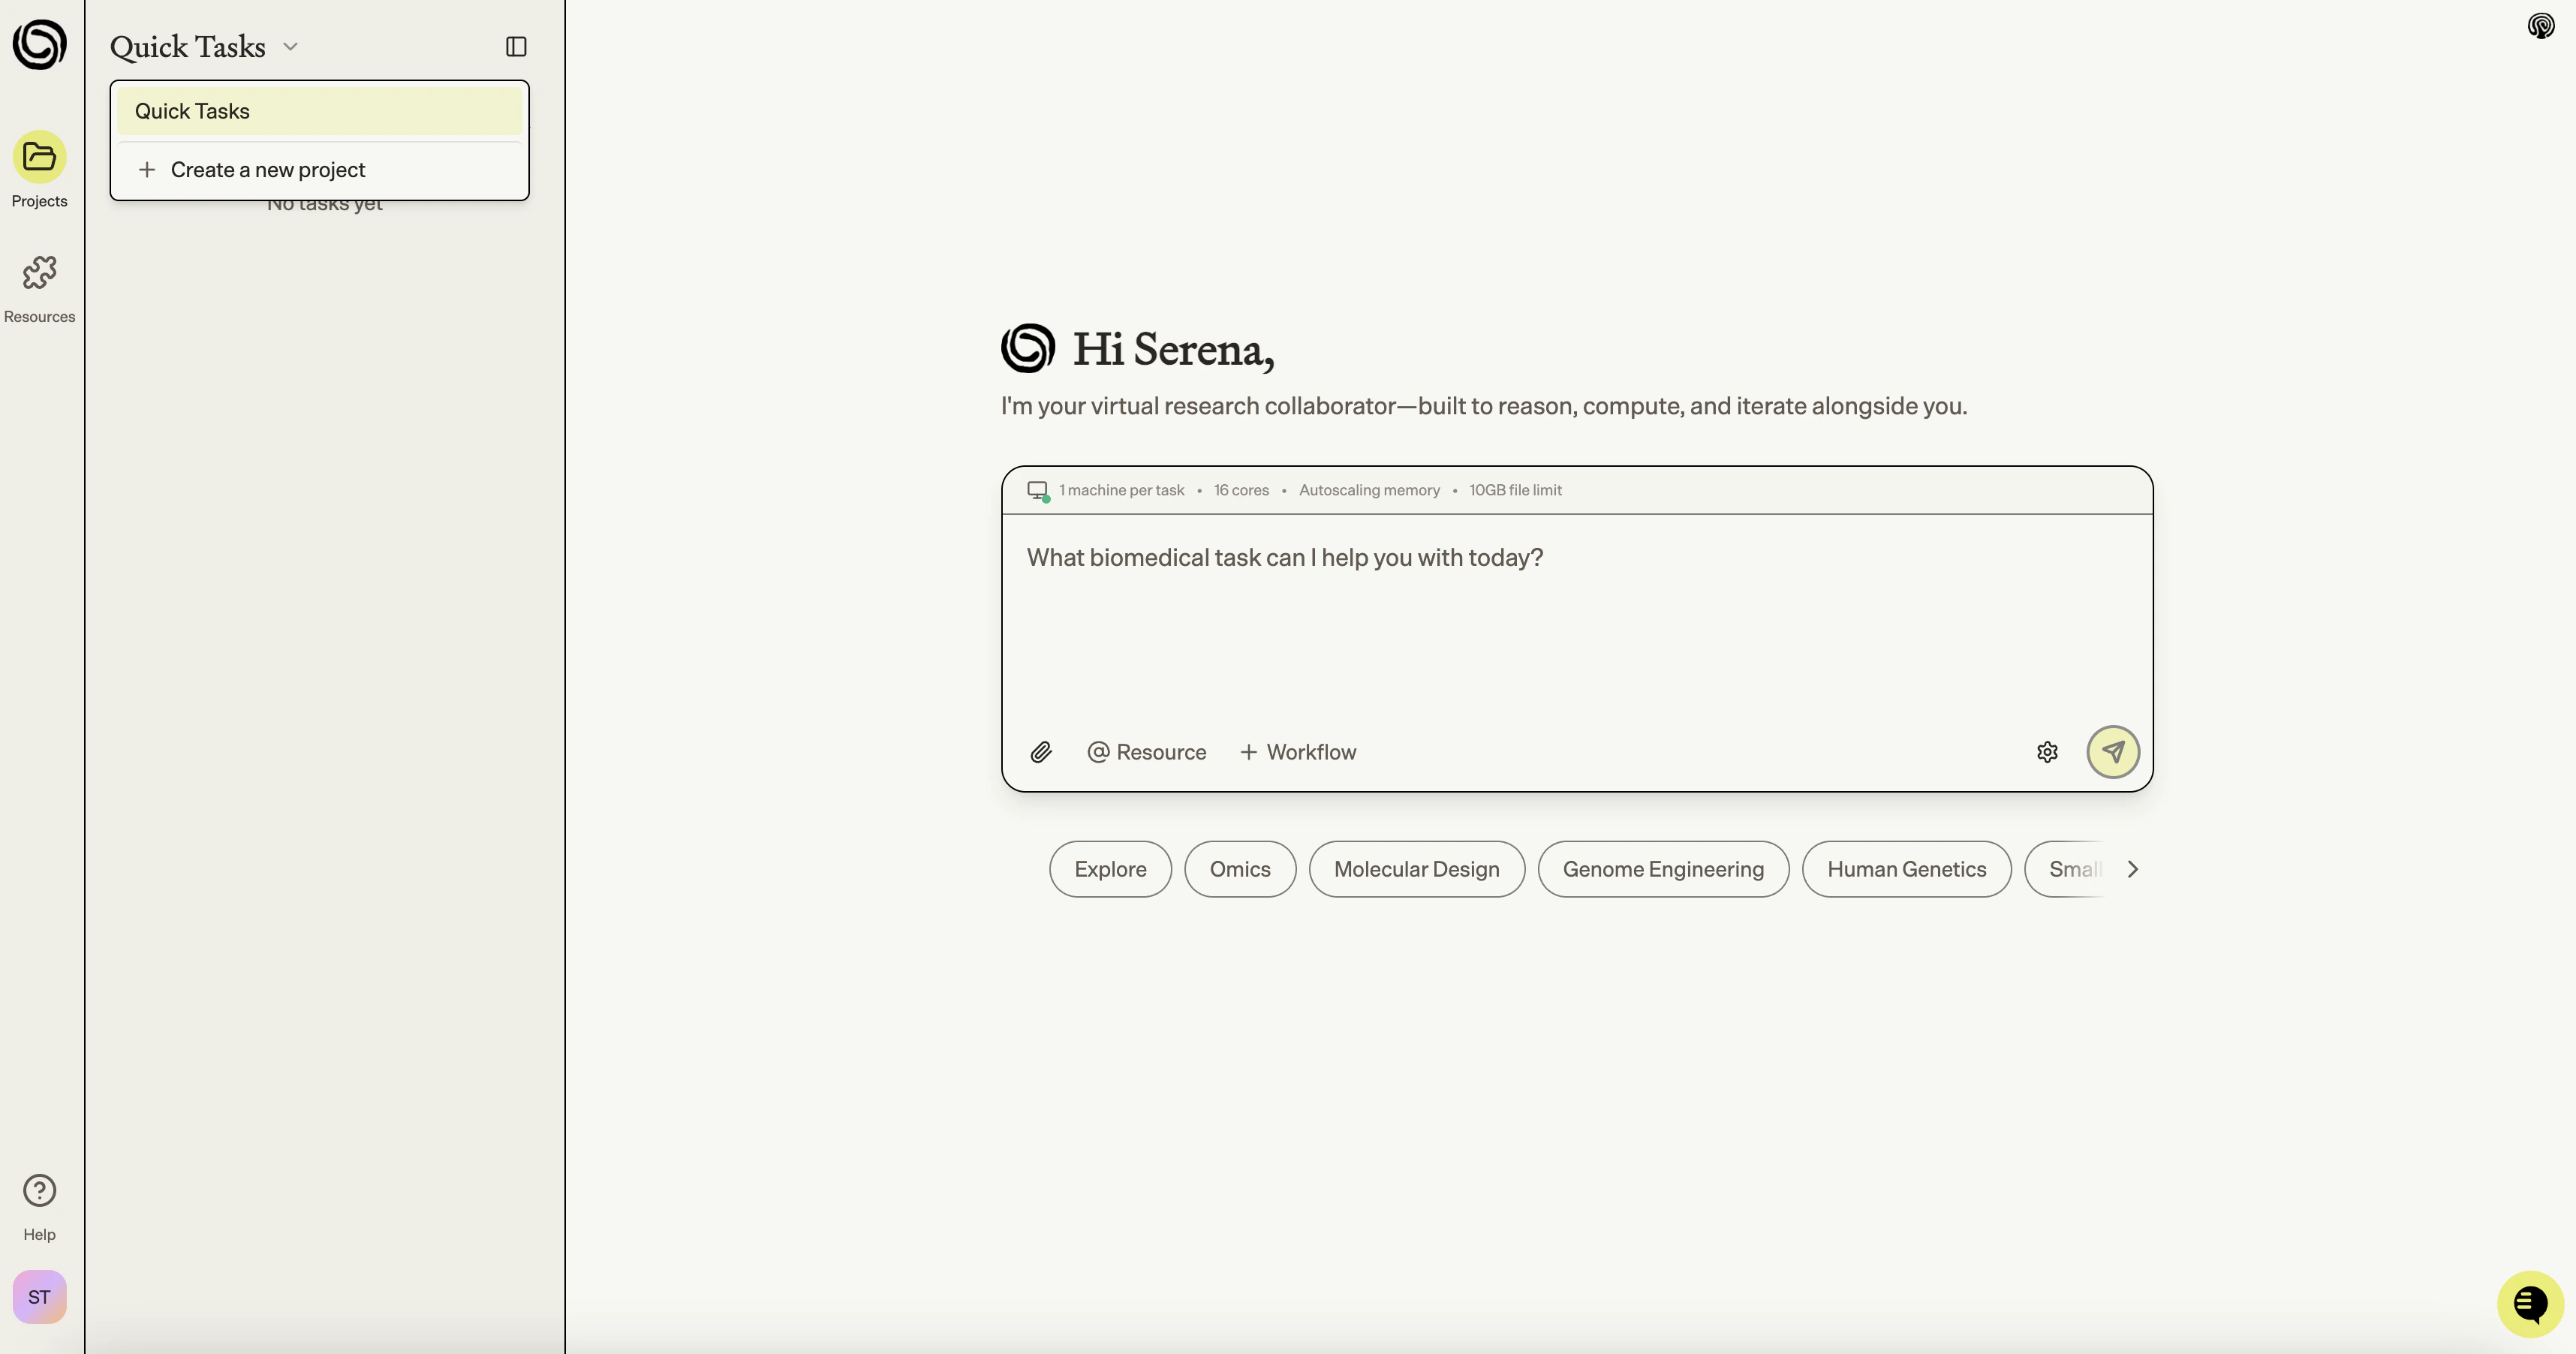
When you first log in, Biomni Lab opens a Quick Task by default so you can start working right away. You have two options for creating new analyses:- Quick Task (Default)
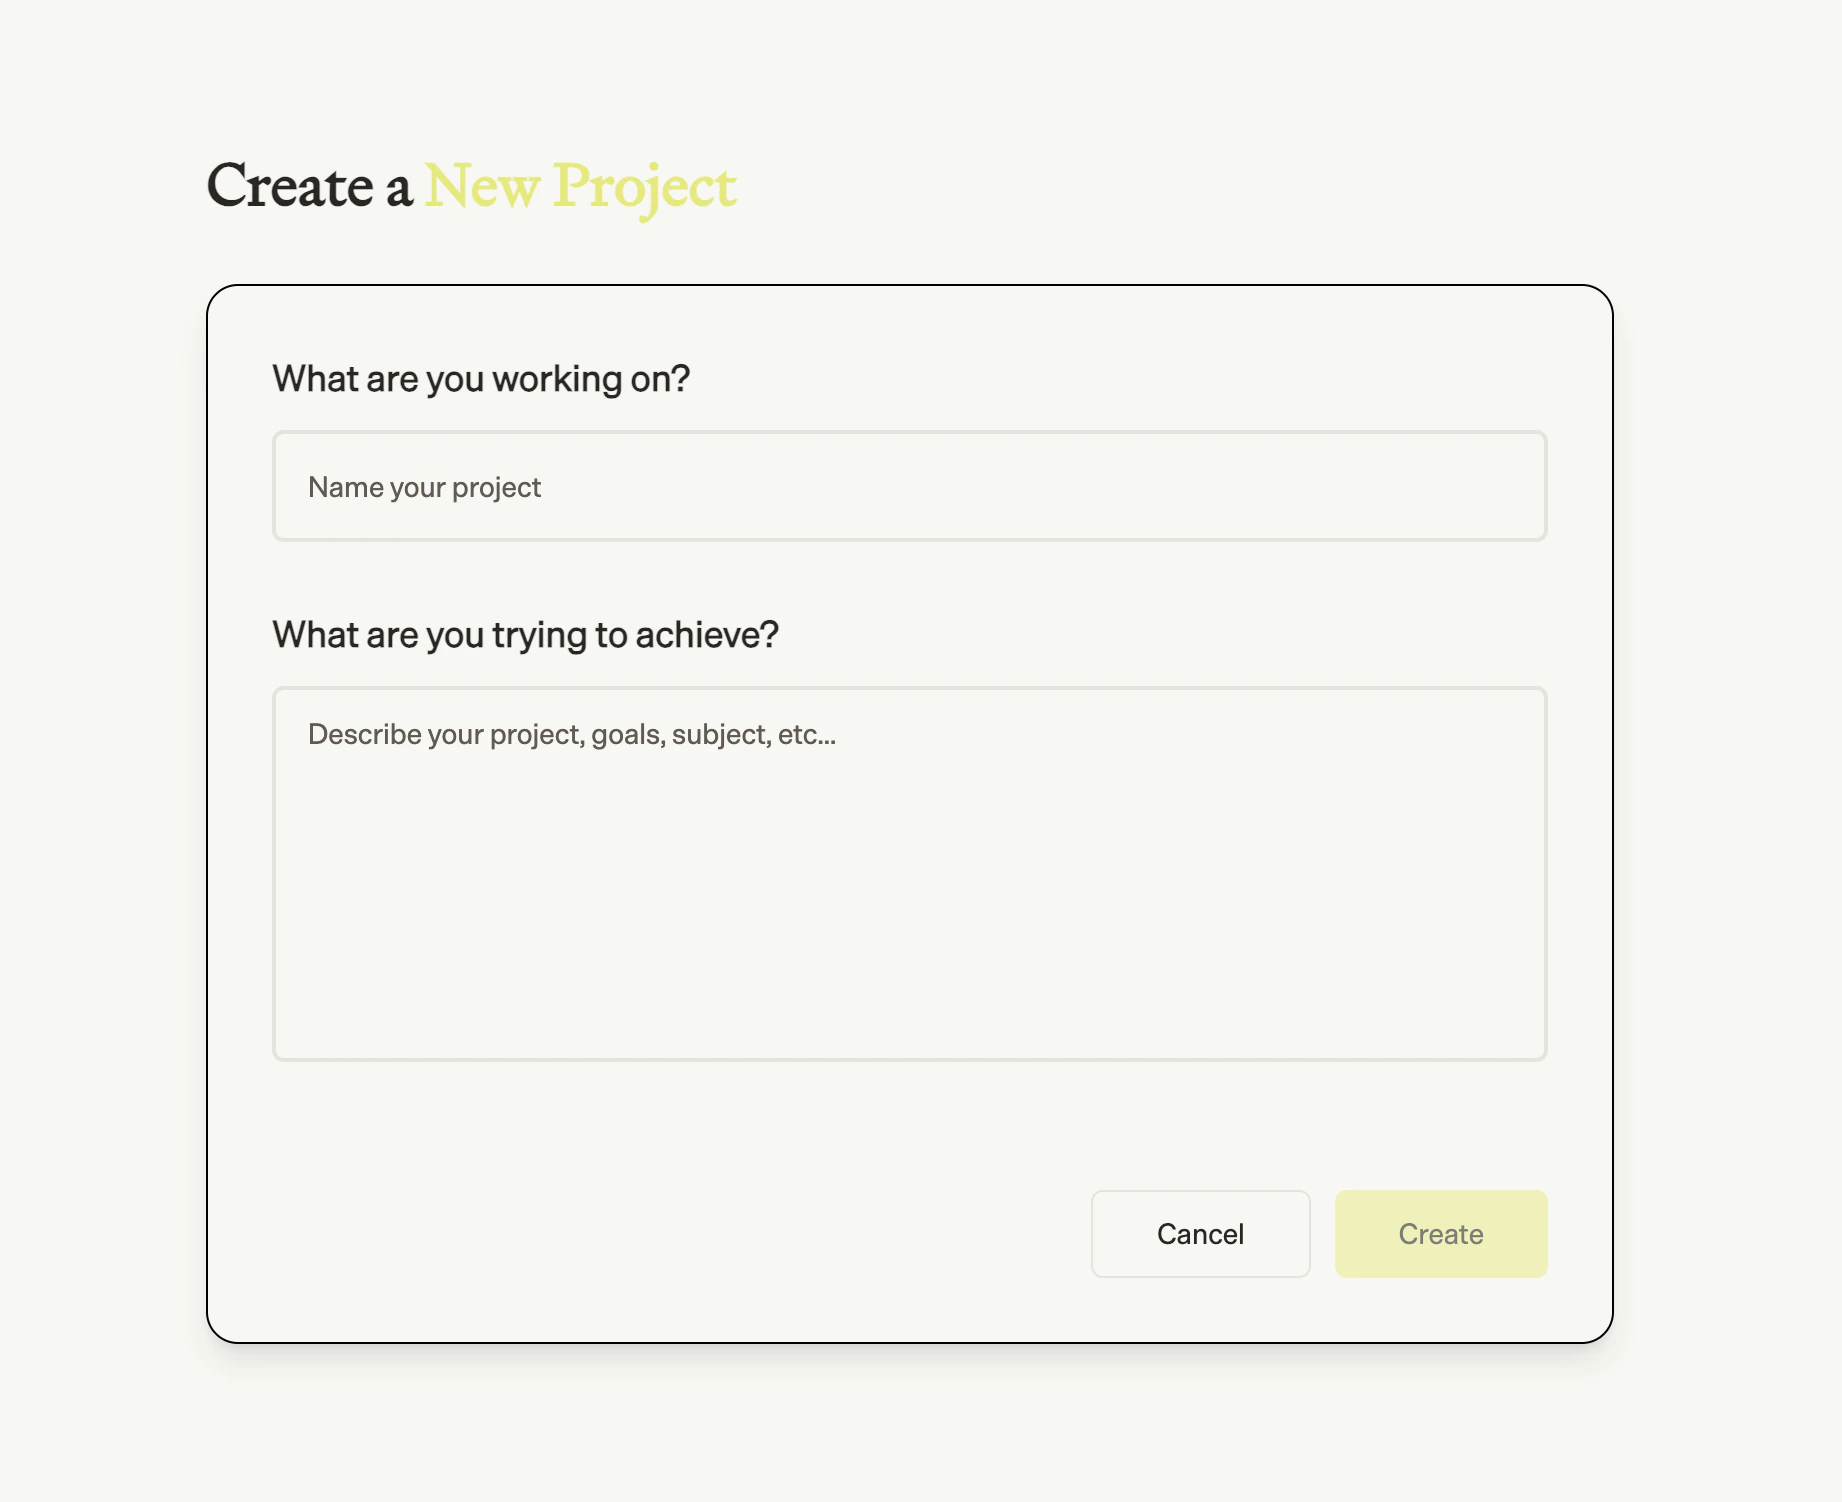
- New Project
- Click the + Create button in the sidebar
- Select Quick Task
- You’ll be taken directly to a new chat session
Using Workflow Templates
Workflow templates provide pre-built analysis workflows curated by the Biomni Lab team:- Click the + Workflow button in the chat input area, or look for suggested templates displayed in the chat
- Browse templates by category or search for specific workflows
- Click on a template to see what it does
- Click Use Template to apply it to your task
- Provide the required input files when prompted
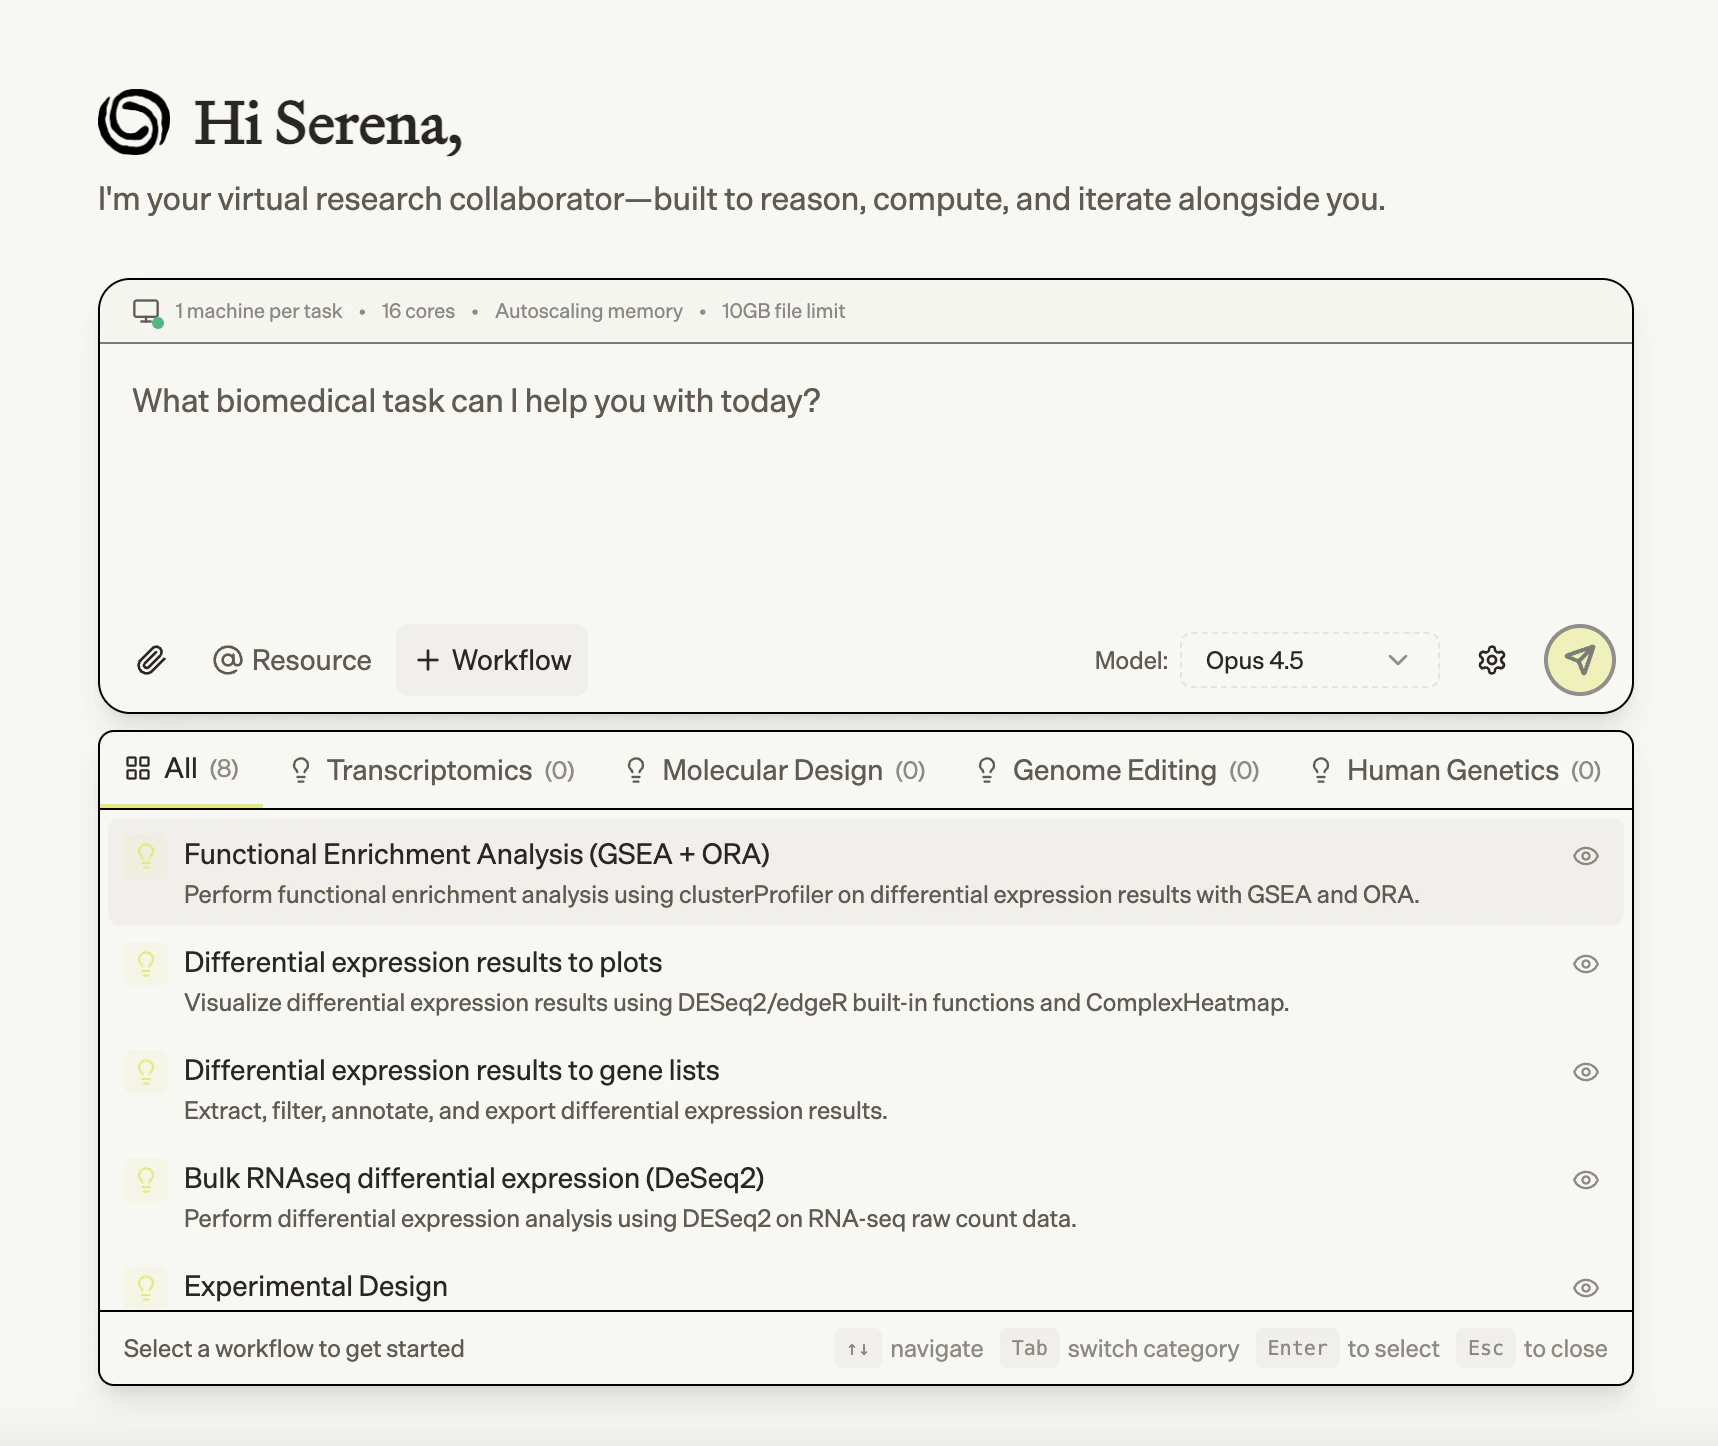
Templates include optimized parameters for common use cases. You can ask Biomni Lab to adjust parameters after applying a template.
Submitting a Request
Writing Your Request
Type your analysis request in the chat input at the bottom of the screen. Be specific about:- What you want to accomplish
- Which files to use (reference them with
@) - Any specific tools or parameters
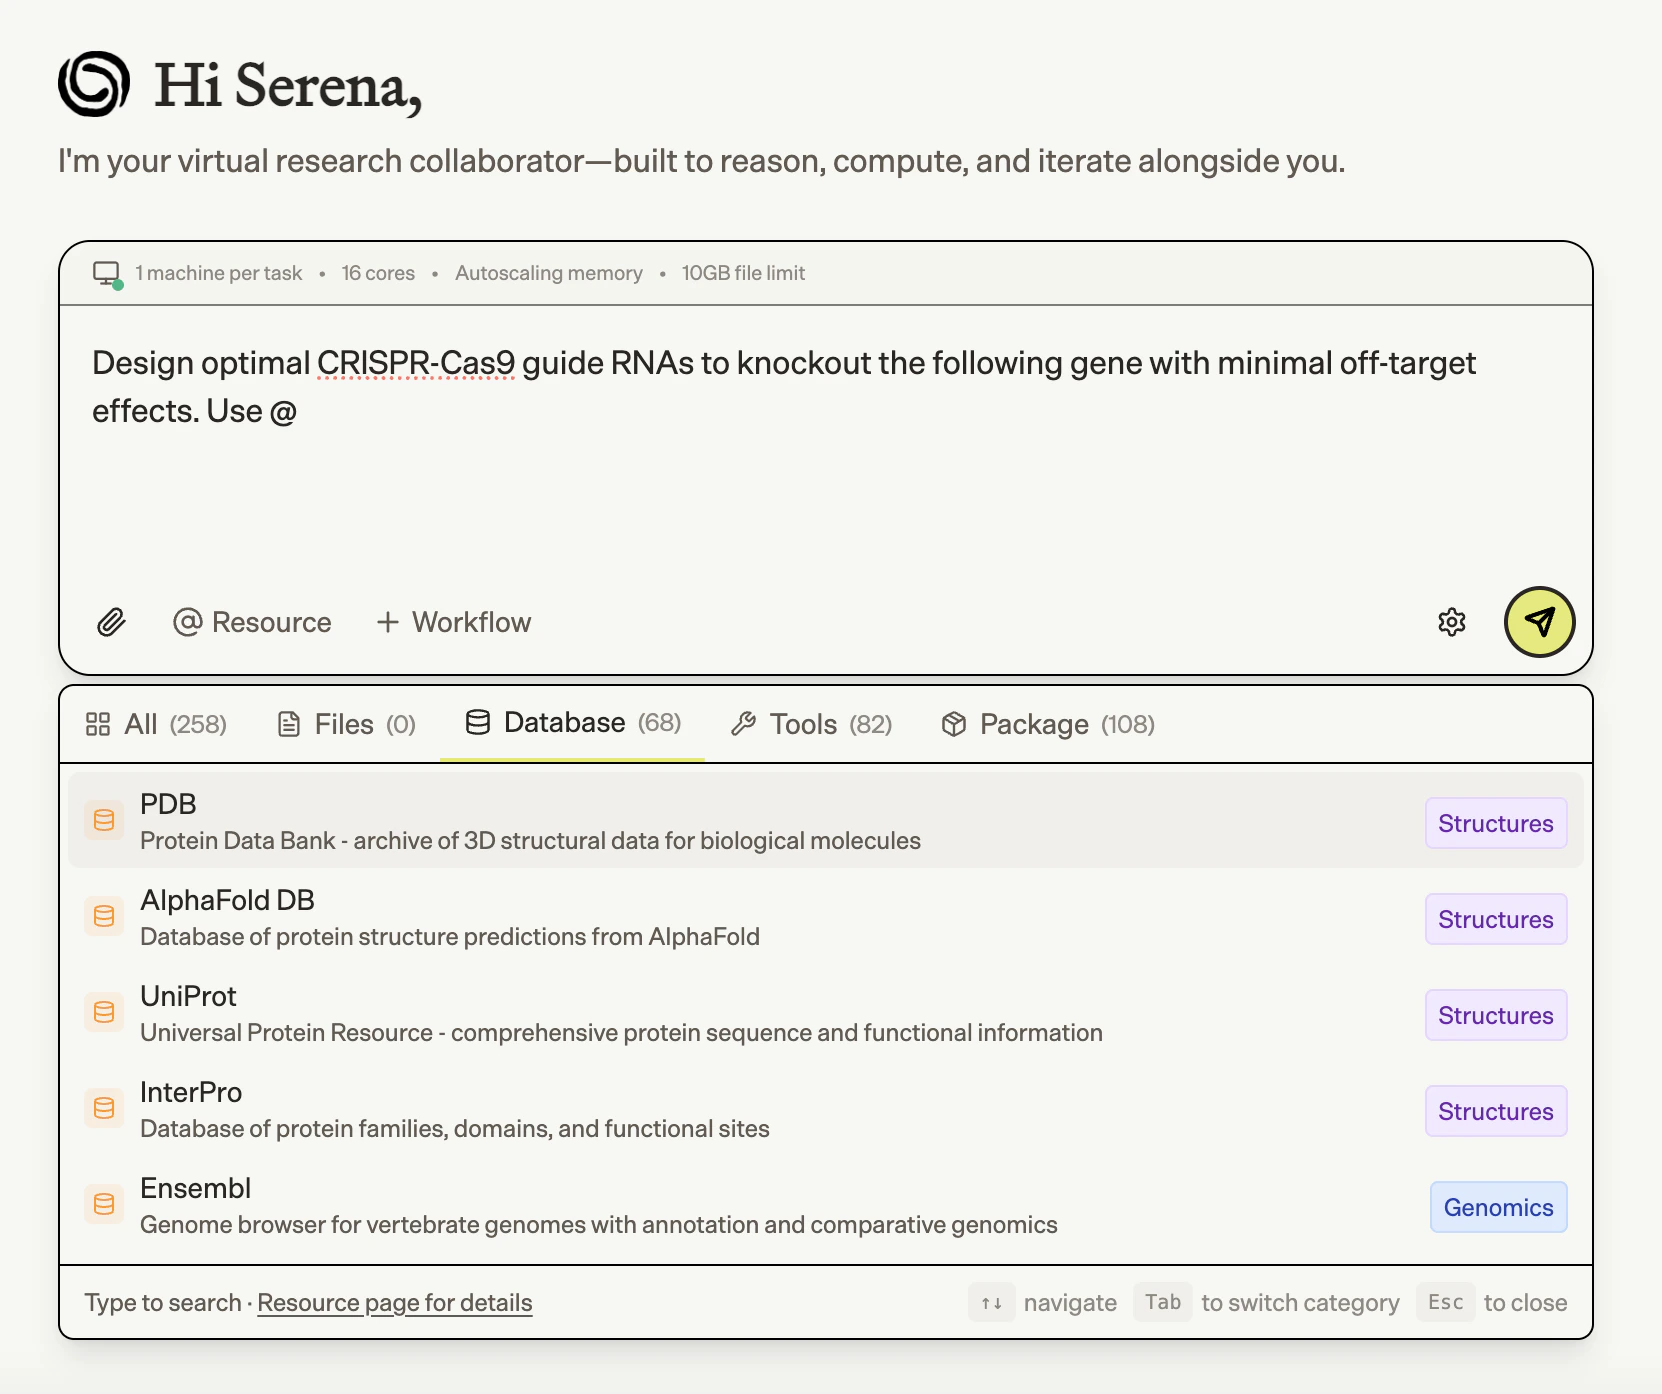
Using @ Mentions
Reference files and resources directly in your message by typing@:
@, a dropdown menu appears with:
- Files: Your uploaded files
- Databases: Reference databases like UniProt, NCBI
- Tools: Bioinformatics tools like BLAST, STAR
- Packages: R/Python packages like DESeq2, Seurat
Attaching Files
Click the paperclip icon to attach files to your request:- Click the paperclip icon in the chat input
- Choose your source:
- From Computer: Select files or folders from your local machine
- From Biomni Lab: Choose from files you’ve already uploaded to Biomni Lab
- Files appear as attachments in your message
- Submit your request
Understanding the Response
Startup Time
After submitting a request, Biomni Lab begins processing. You’ll see:- Planning phase: Biomni Lab analyzes your request and creates an execution plan
- Initialization: Resources are allocated (this may take a few moments for complex analyses)
- Execution: The analysis runs with real-time progress updates
Initial startup may take 10-30 seconds as Biomni Lab prepares the computational environment. Subsequent requests in the same session start faster.
The Execution Trace
As Biomni Lab works, you’ll see a trace of its actions in the chat:- Thinking: Biomni Lab’s reasoning about how to approach your request
- Tool calls: Commands being executed (alignment, analysis, etc.)
- Results: Output from each step
- Status updates: Progress indicators for long-running operations

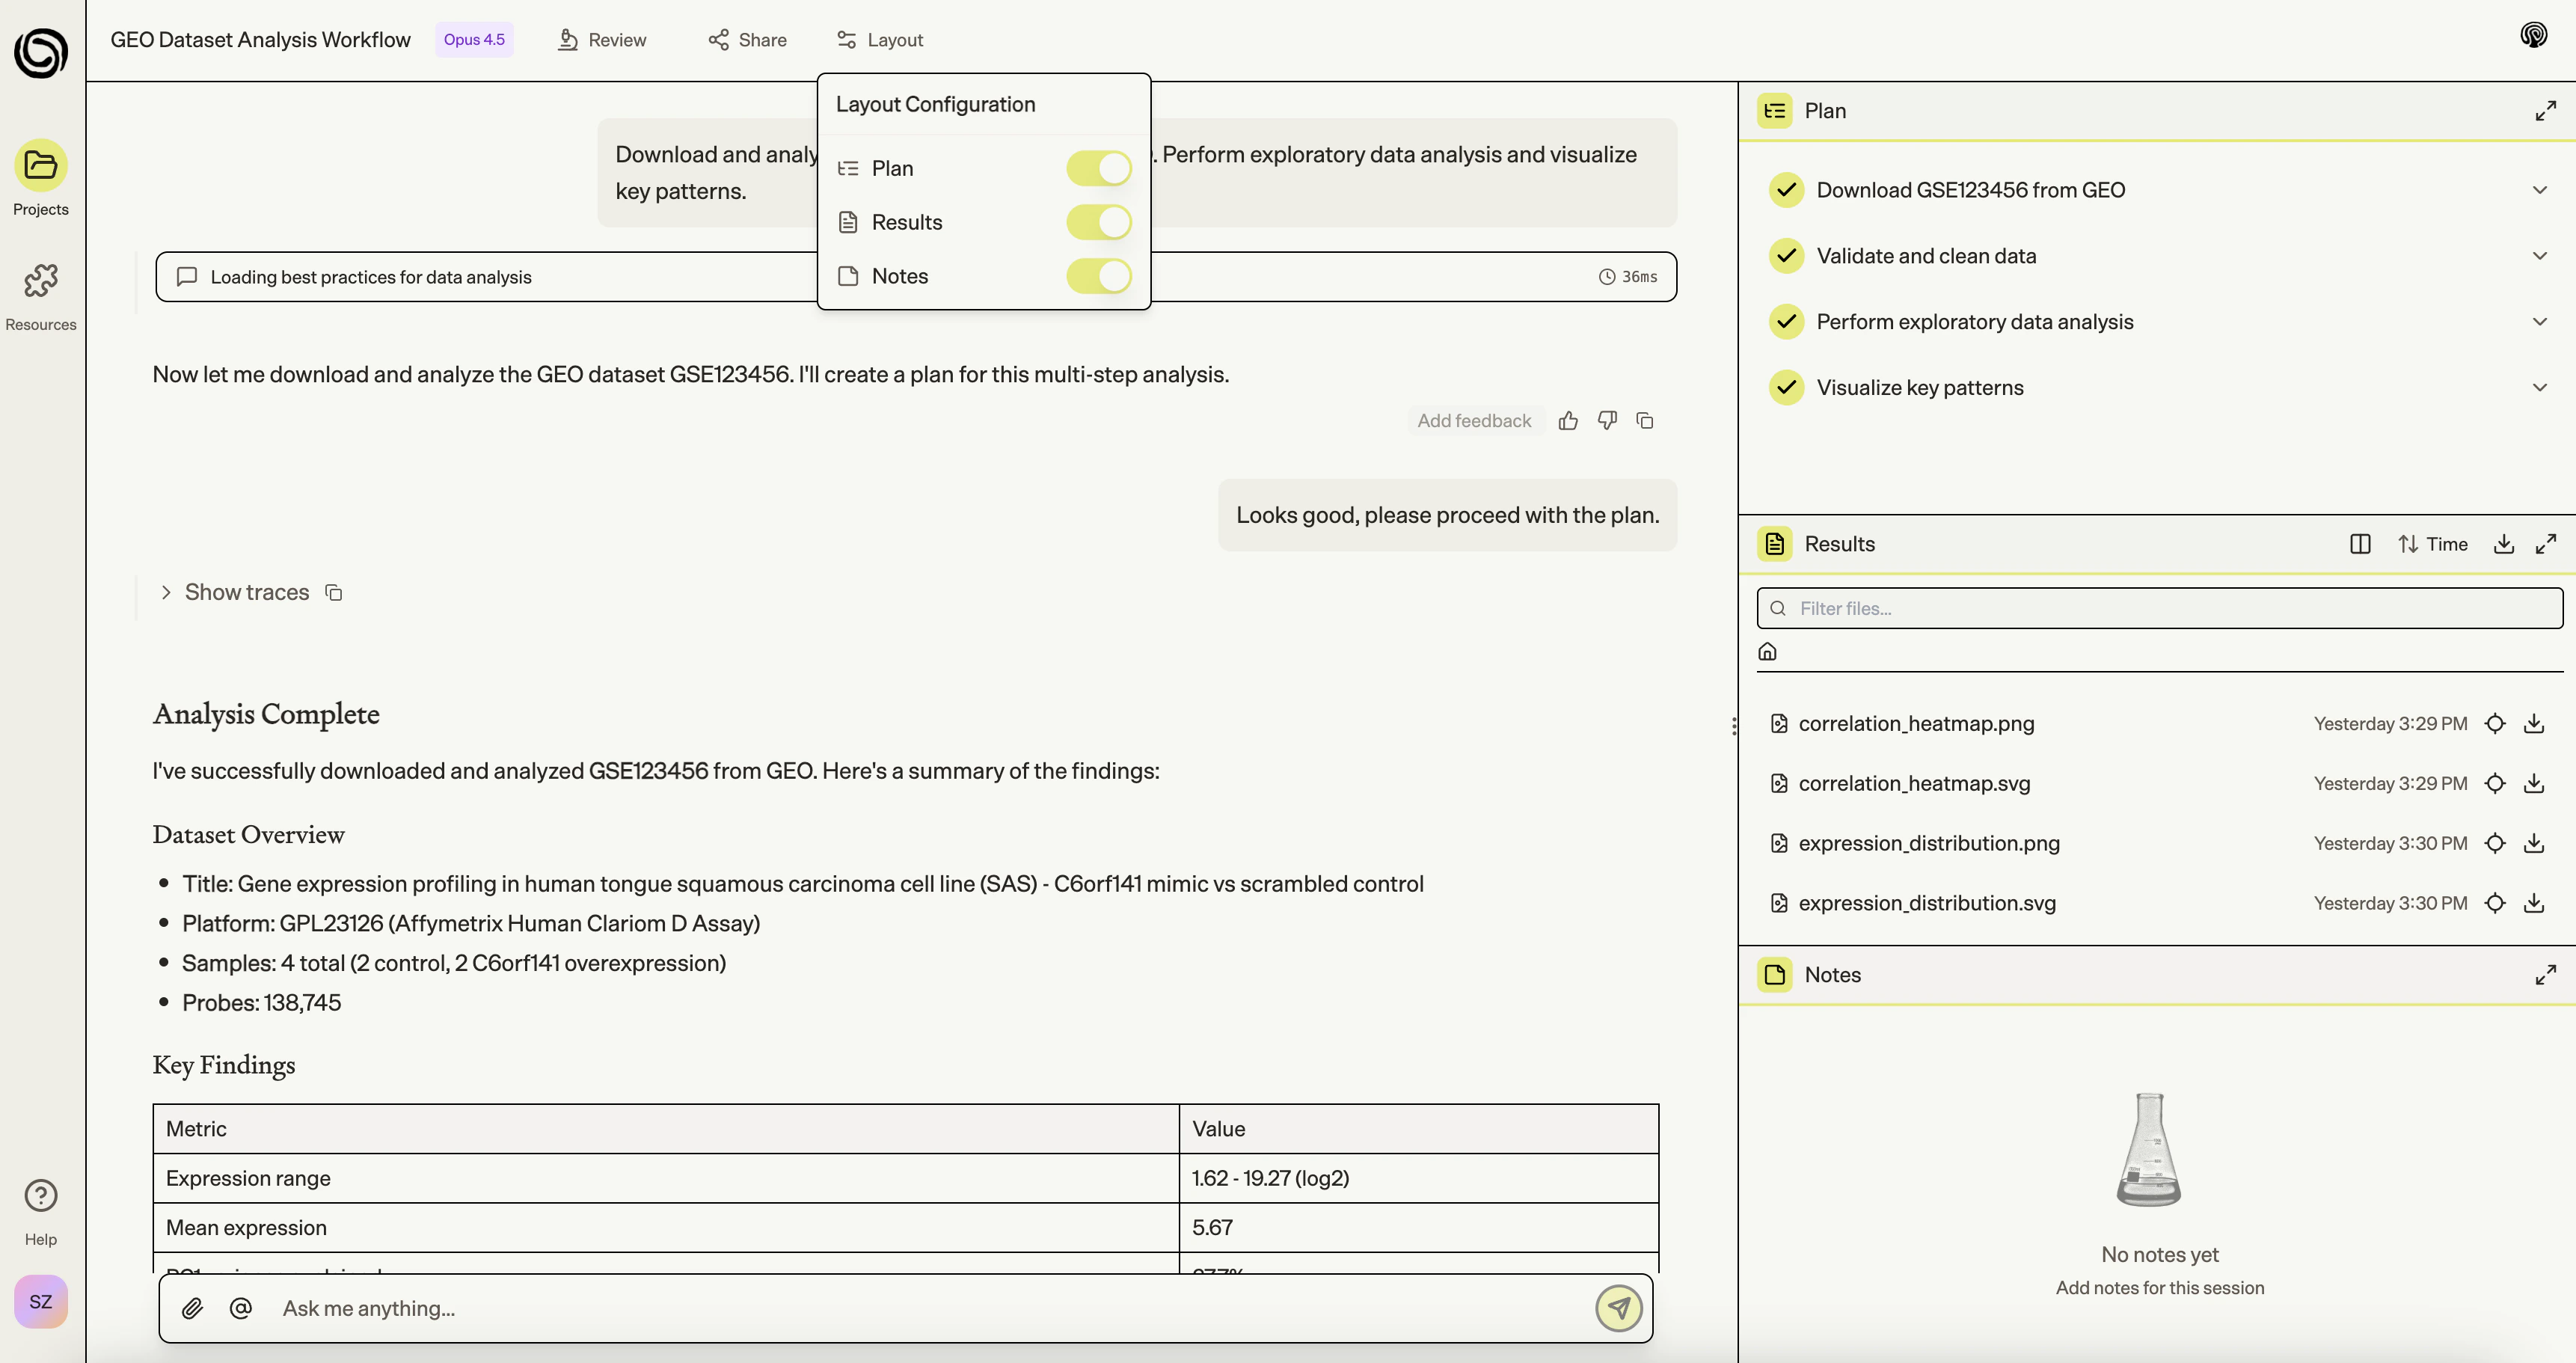
Working with the Workspace Layout
Biomni Lab uses a three-panel layout to organize your work.The Three Panels
- Chat Panel (Left): Your messages, Biomni Lab’s responses, and trace sections
- Center Panel (Middle): File previews, artifacts, and expanded module views
- Modules Column (Right): Plan, Results, and Notes stacked vertically
Working with Modules
The right column contains three key modules:- Plan: View the analysis workflow steps and progress
- Results: Browse and download generated files
- Notes: Add session notes and documentation
Viewing and Downloading Results
Results appear in two places:- In the chat: As openable artifacts you can click to expand
- In the Results module: All generated files from your session
Working with Result Files
Each result file has several actions available:- View: Click on any file to open it in the right panel for a full preview
- Download: Click the download icon to save the file to your computer
- Find source: Click to jump to the trace step that created this file
Follow-up Requests
Continue the conversation to refine your analysis:Iterating on Results
Building on Previous Analysis
Reference earlier results in your follow-up:Suggested Follow-up Questions
After completing an analysis, Biomni Lab generates suggested follow-up questions to help you explore your results further. These appear as clickable suggestions below the response:What are the top upregulated genes?Run GO enrichment analysisCreate a volcano plot
Click any suggestion to automatically add it to your chat input.
Asking Questions
You can ask Biomni Lab to explain results or suggest next steps:Running Multiple Sessions in Parallel
You can run multiple analyses simultaneously:- Open a new task: Click + Create > Quick Task while an analysis is running
- Switch between tasks: Use the Tasks panel in the sidebar to switch
- Monitor progress: Each task runs independently with its own progress
Accuracy & Verification
Biomni Lab includes multiple features to ensure accuracy and help you verify results.Review Mode
Click the Review button at the top of any session to enter review mode:
- See all claims and statements with their supporting evidence
- Verify citations and references
- Check data sources used in the analysis
- Identify any assumptions made
Citations & References
Biomni Lab provides citations for:- Database queries: Links to source records (UniProt, NCBI, PDB, etc.)
- Literature references: DOIs and links to published papers
- Tool documentation: References to official tool documentation
- Statistical methods: Citations for analytical approaches used
Hallucination Guardrails
Biomni Lab uses multiple safeguards to prevent AI hallucinations:- Source verification: Claims are cross-referenced against databases
- Confidence indicators: Uncertain results are flagged
- Data validation: Input and output data are validated against expected formats
- Reproducible workflows: All steps are logged and can be reproduced
While these guardrails significantly reduce errors, always verify critical findings through independent sources, especially for clinical or publication-ready research.
Next Steps
Now that you understand the basics:How to Prompt
Learn tips for writing effective requests
Projects & Drive
Organize your work and files
Resources
Explore 60+ databases and tools
FAQ
Common questions and answers